
Gardening for Beginners Episode 5
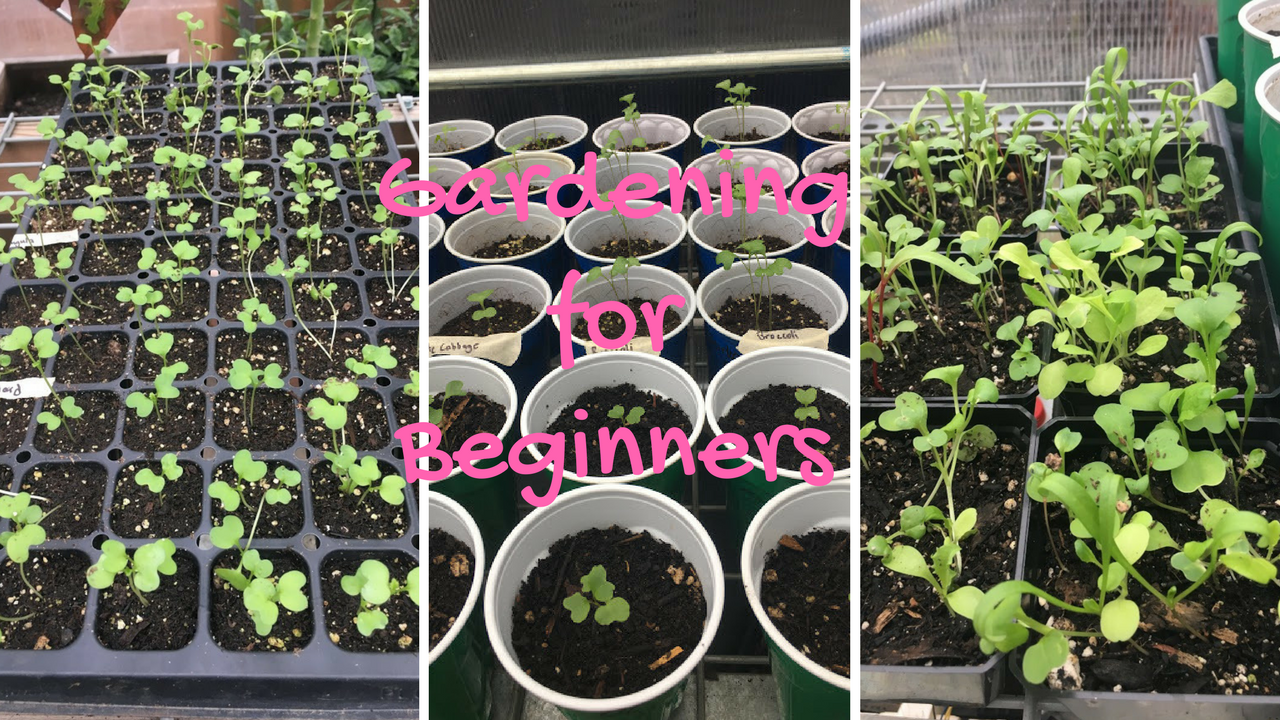
Top Tips for Starting Seeds Indoors
- Use a good seed start soil mix that is fine and moisture retentive. Seeds can dry out quickly so you want to be sure it’s not just dirt from the yard. Plant them at a 1-2 times depth at their longest edge. Fully moisten the soil with a fine watering can or spray bottle being careful to not over water so the seeds won’t rot. You can choose a variety of types of pots to plant in. From seedling trays, to cardboard egg cartons. And to make your own little hot house you can use the garden store plastic domes or even the plastic containers that you get with baked goods or strawberry containers from the grocery store. Be creative. You don’t have to spend alot of money to get started.
- Provide warmth for germination using a max/min. thermometer that you can keep an eye on or place in an area that is always around 68-70 degrees. You can even place them in a dark closet as they don’t need light at this point, just warmth. They can dry out quickly so keep covered with baggies or even the clear plastic domes that you can get at the local garden center. The seed packet with tell you how long the germination time is so be sure to check on them regularly to keep moist and to check for germination.
- As soon as they start to sprout you will want to get them into the supplemental light. Not necessarily in a window but somewhere they will get adequate light. If you put them in a window they can get “leggy” and that starts them out on the wrong foot.
- Start your seeds at the right time because you don’t want them to outgrow their pots before you can move them outside, or start them too late where they won’t have time to develop. Use the Farmers almanac planting schedule http://www.almanac.com/gardening/planting-dates/states to tell you when you can sow indoors, transplant or directly sow outdoors.
- Sow your seeds in batches a few weeks apart. That way you have staggers sizes for back up if your first crop gets damaged by insects or weather. We did that last year with our tomatoes and I’m glad I did. The first crop got damaged by a late frost and where very stunted. When you have staggered sizes, pick the healthiest and plant them outside.
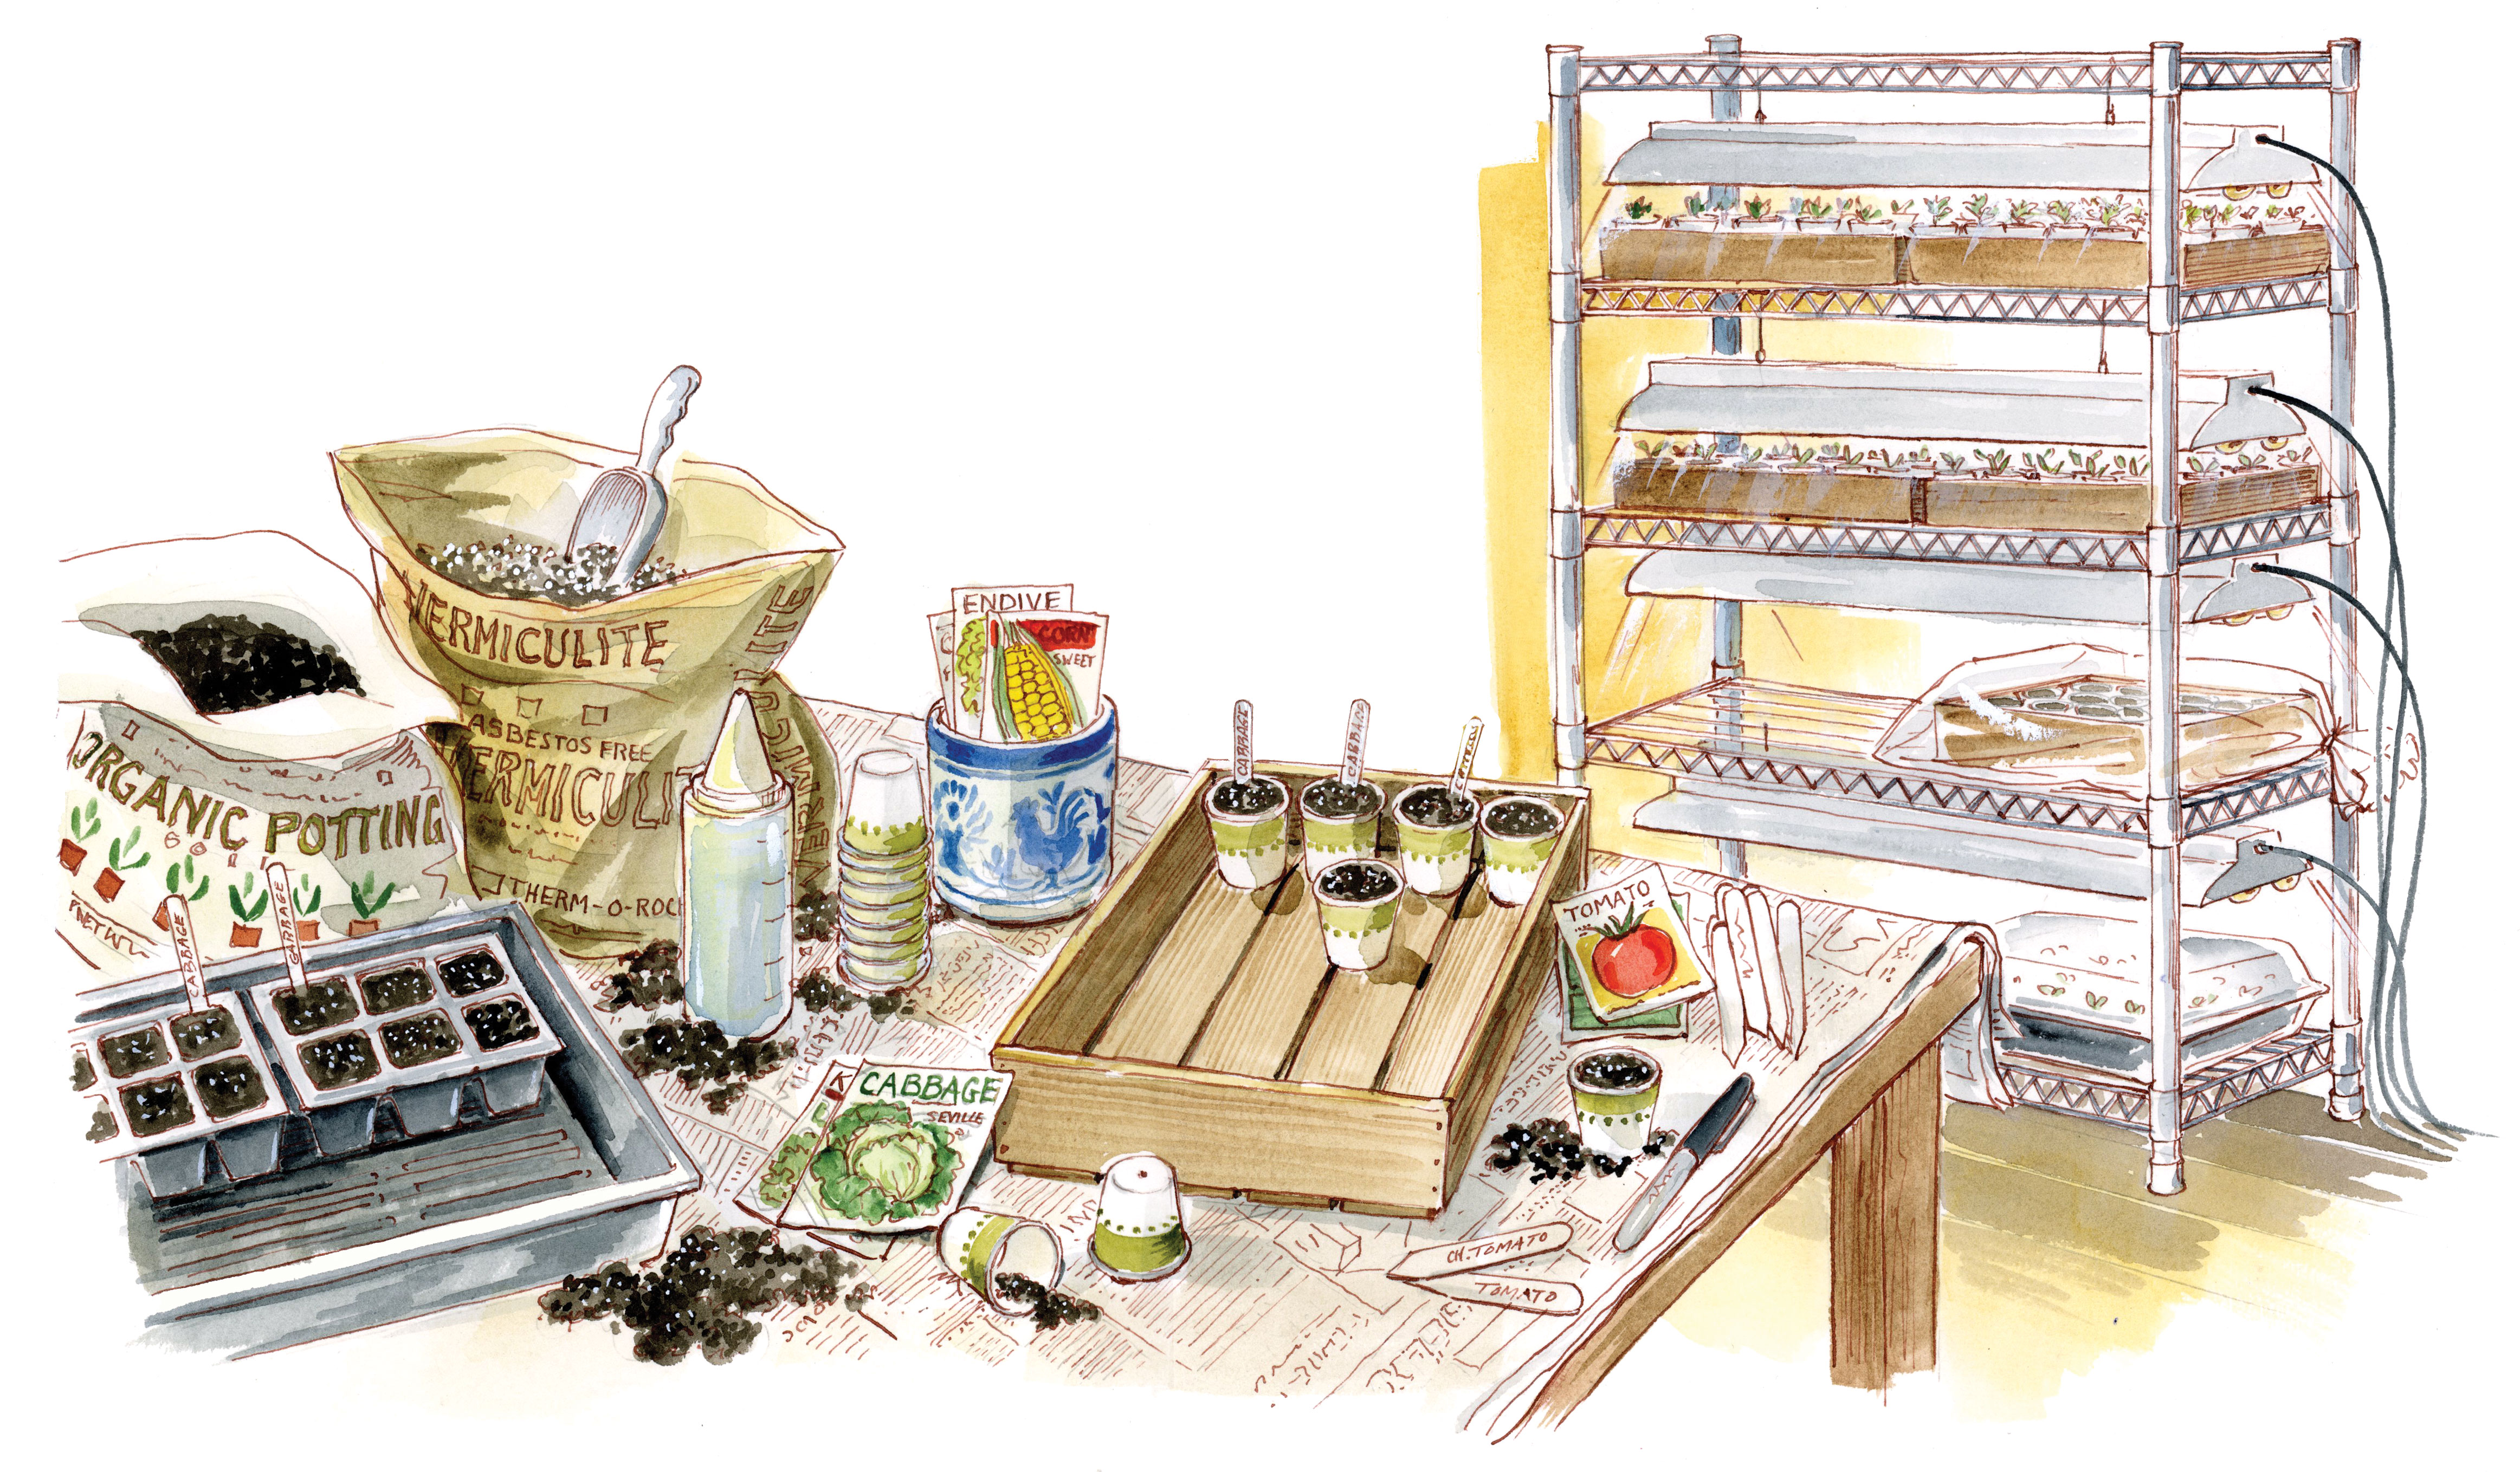
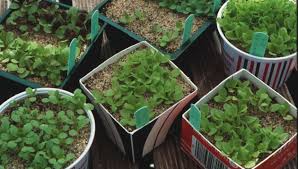
- Transfer you tiny seedlings into the next size pot, we use the party cups as they are perfect size and you can reuse every year. Just be sure that you have a few holes poked in the bottom for drainage. They are ready for transfer when they have their second set of leaves called the “true leaves”. Ready your pots with the potting soil and dig a nice size well in the center. Gently dig up your seedling with a teaspoon, only grasping it carefully by the leaves, NOT the stem. That’s where the capillary tubes are that carry the water to the plant.
- Minimize root disturbance by keeping as much of the dirt with the roots as possible. There are tiny little micro-roots in the soil that you don’t want to disturb. Gently place into the well and firmly pack the soil around it.
- Label your plants using Popsicle sticks or garden store plastic sticks. Be sure you put the name and the variety on your sticks so you will know what did best and what didn’t.
- Seedlings need INTENSIVE CARE so make sure they get plenty of water and check on them daily. Make sure they are getting enough light and warmth still too.
- Harden off your seedlings by taking them outdoors for an hour the first day and then increase that time by an hour every day for a week. Once they have been treated like this they should be ready for planting outside either in their final pop or directly into the garden. A greenhouse, simple to make hoop house or cold frame is another way to give them a halfway place to get ready.
A few other tips that I have for germinating seeds indoors is to place your seeds in dampened paper towel and place that in a baggie. Keep it moist daily and in about a week you will see tiny sprouts start to form. I like this method for beans and peas because then I know that the seeds are good. At that point you can go ahead and put them in the pots for growing.
Directly sowing your seeds outside has many options too. There is a product called “seed tape”  that you can get from Amazon.com that already has the seeds inside and then you lay that into your rows in the garden. The tape composts and gives you nice straight rows with no thinning required. You can make your own own seed tape with strips of toilet paper that you moisten and place the seeds on and fold in half, then lay that strip straight into the trench as well.
There are also a variety of seed dispensers like this  that you can order from Amazon.com or gardening supply vendors or even pick up at your local garden store.
So until the sun comes out and we can actually get in the dirt to play, enjoy these tips to get your own garden ready for spring planting.